In writing smart contracts with Truffle I covered how to get started with Truffle and how to create, test and deploy contracts using an in-memory representation of the blockchain.
The goal of this article is to pick up where we left in that article and deploy it to the testnet Rinkeby. To do so we need to perform the following steps:
- Run
gethwith Rinkeby. - Have a wallet in Rinkeby.
- Configure Truffle to use Rinkeby.
- Deploy code.
Running Rinkeby
First, start geth with Rinkeby and make sure that the correct APIs
for Truffle are enabled.
geth --rinkeby --rpc --rpcapi db,eth,net,web3,personal
If you don’t have geth or Rinkeby setup, read my article smart
contracts for the
impatient, which
has instructions on how to do so.
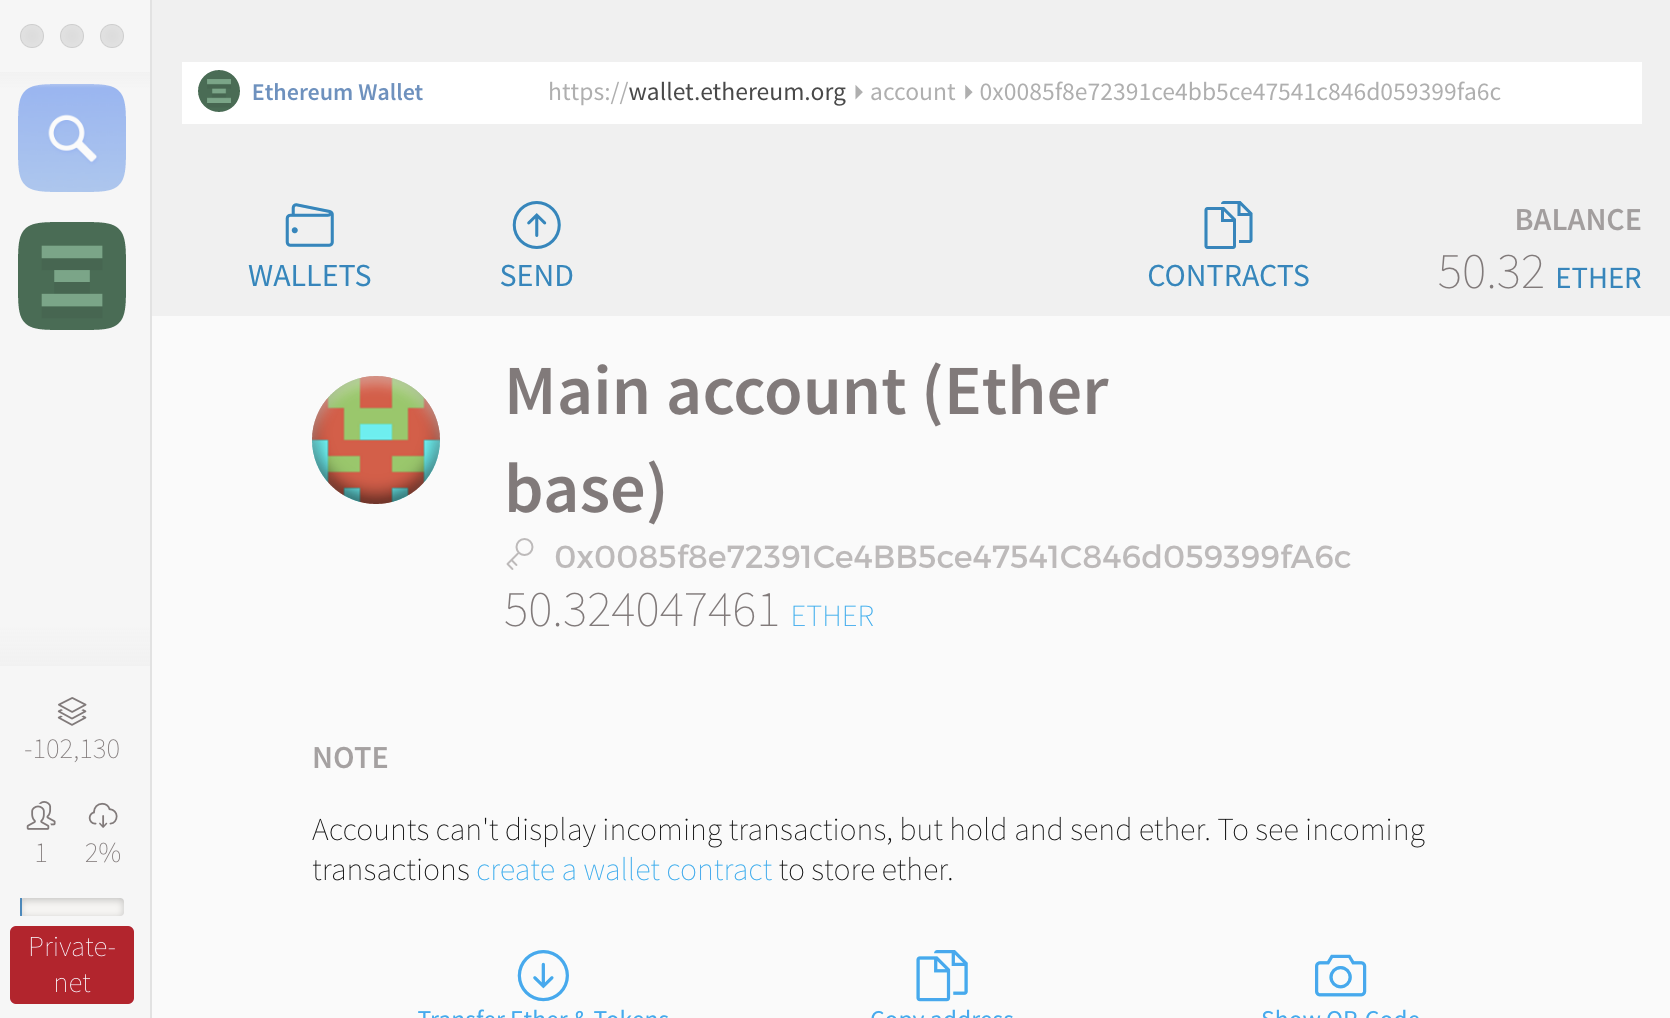
Get your account address
Assuming you have an account, open Mist and get the address. For this example I’ll use my main test account 0x0085f8e72391Ce4BB5ce47541C846d059399fA6c.
Configure Truffle
Next, we need to add Rinkeby to our truffle config file. If we open truffle.js in our contract code we’ll see something like:
module.exports = {
  networks: {
    development: {
      host: "localhost",
      port: 8545,
      network_id: "*" // Match any network id
    }
  }
};
Let’s add Rinkeby to the list of networks:
module.exports = {
  networks: {
    development: {
      host: "localhost",
      port: 8545,
      network_id: "*" // Match any network id
    },
    rinkeby: {
      host: "localhost", // Connect to geth on the specified
      port: 8545,
      from: "0x0085f8e72391Ce4BB5ce47541C846d059399fA6c", // default address to use for any transaction Truffle makes during migrations
      network_id: 4,
      gas: 4612388 // Gas limit used for deploys
    }
  }
};
Deploying to Rinkeby
Once we have added Rinkeby to the list of networks, we can deploy our
contract by running the command truffle migrate --network rinkeby.
Before running the command, we need to unlock our test account so we
can interact with it via Truffle. To do so, stop geth and start with
the following parameters (replace the account address with yours):
$ geth --rinkeby --rpc --rpcapi db,eth,net,web3,personal --unlock="0x0085f8e72391Ce4BB5ce47541C846d059399fA6c"
With geth configured, let’s run the migrate command:
$ truffle migrate --network rinkeby
Using network 'rinkeby'.

Running migration: 1_initial_migration.js
  Deploying Migrations...
  Migrations: 0x7bb345184c660bfadca4ba8c766875cd02c4556f
Saving successful migration to network...
Saving artifacts...
Running migration: 1499575148_deploy_hello_world.js
  Deploying HelloWorld...
  HelloWorld: 0xbfbbd01ae2ea4bfc777f6ea3a2ad4843c7a104fb
Saving successful migration to network...
Saving artifacts...
We have deploy successfully a contract to Rinkeby using Truffle! We can go to etherscan and see that our contract is there. The following is the information for the contract aboove https://rinkeby.etherscan.io/address/0xbfbbd01ae2ea4bfc777f6ea3a2ad4843c7a104fb.
If we look at the artifacts after the deployment, we’ll see the abi for each of the contracts and the contract address. The following is the artifacts for the HelloWorld contract.
Wrapping up
In this article, we picked up on the code from writing smart contracts with Truffle and manage to deploy our contract to the testnet Rinkeby.
In a future article, I’ll cover how to interact with your contracts using Truffle REPL mode. Follow me on twitter (@abuiles) or subscribe to my feed to get updates.
You can find the code and steps for this article in GitHub https://github.com/abuiles/Writing-Smart-Contracts-With-Truffle.