I’ve been learning about Ethereum and smart contracts, and one of the biggest issues I’ve found is the lack of documentation to do some basic things.
In this article I want to do the dumbest contract possible, which kind of resembles our first program ever: “Hello World”.
I’ll show you how to:
- Run Mist using the testnet Rinkeby and get free ether for testing.
- Deploy a contract and interact with it using Mist.
For easiness, I’ll assume people is using macOS.
Setting up a testnet
To get started we need to install Mist, from the README:
The Mist browser is the tool of choice to browse and use Ðapps.
It not only works as a browser, but also allow us to create wallets and contracts.
We can downloading it from https://github.com/Ethereum/Mist/releases.
Once it is installed, don’t bother yet about setting a wallet.
Since we don’t want to run on the default testnet or main network, we need to install geth, which is a command line interface for running an Ethereum node. It will allow us to interact with Rinkeby which is a different testnet.
Follow the instructions here https://github.com/Ethereum/go-Ethereum/wiki/Building-Ethereum.
Once we have Mist and geth installed, let’s get Rinkeby running.
Running Mist with Rinkeby
Since Mist doesn’t have out of the box support for Rinkeby. We need to connect to it using geth and then tell Mist to use that connection.
Let’s run in the console the following command:
geth --rinkeby --rpc console --rpcapi db,eth,net,web3,personal
It starts a new Ethereum node connected to Rinkeby.
Let’s open Mist and tell it to connect to the running node. It will show you an alert saying the connection is insecure, but since this is a testnet, we can ignore it.
/Applications/Mist.app/Contents/MacOS/Mist --rpc http://localhost:8545
During the first run, it will take some time while the Rinkeby blockchain is downloaded, go for a walk and then come back.
Creating a wallet in Rinkeby
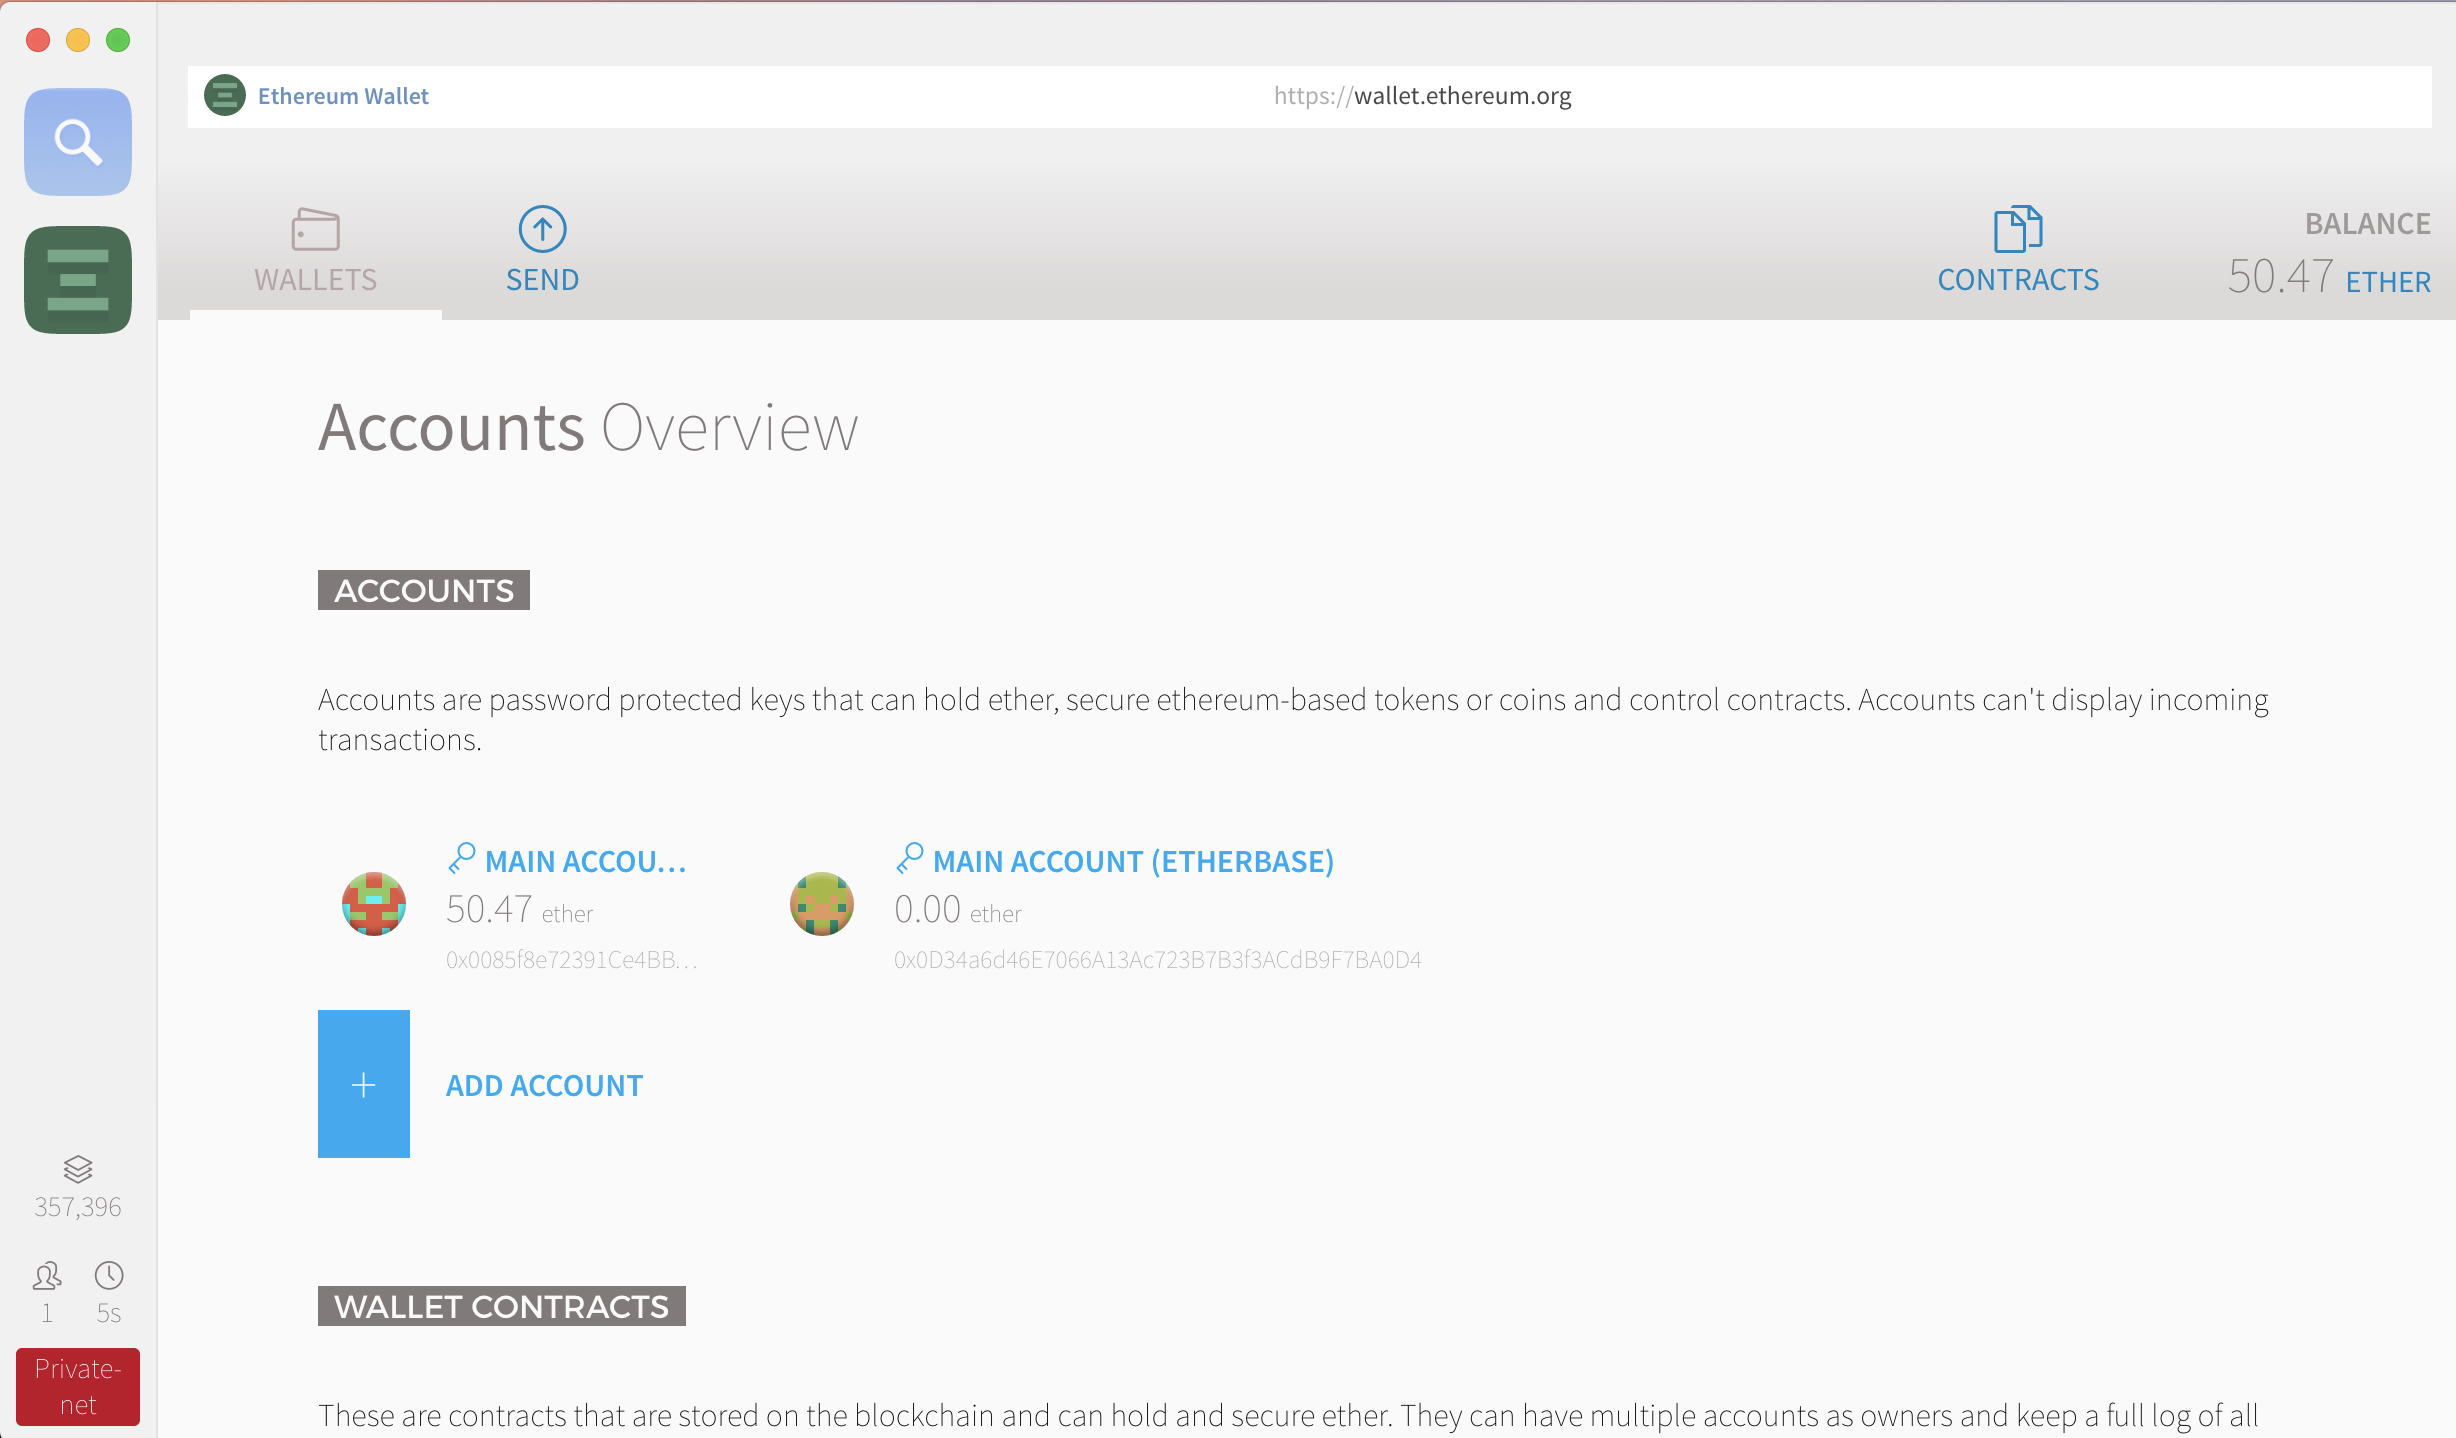
After Mist has started, we’ll see an interface similar to the following:
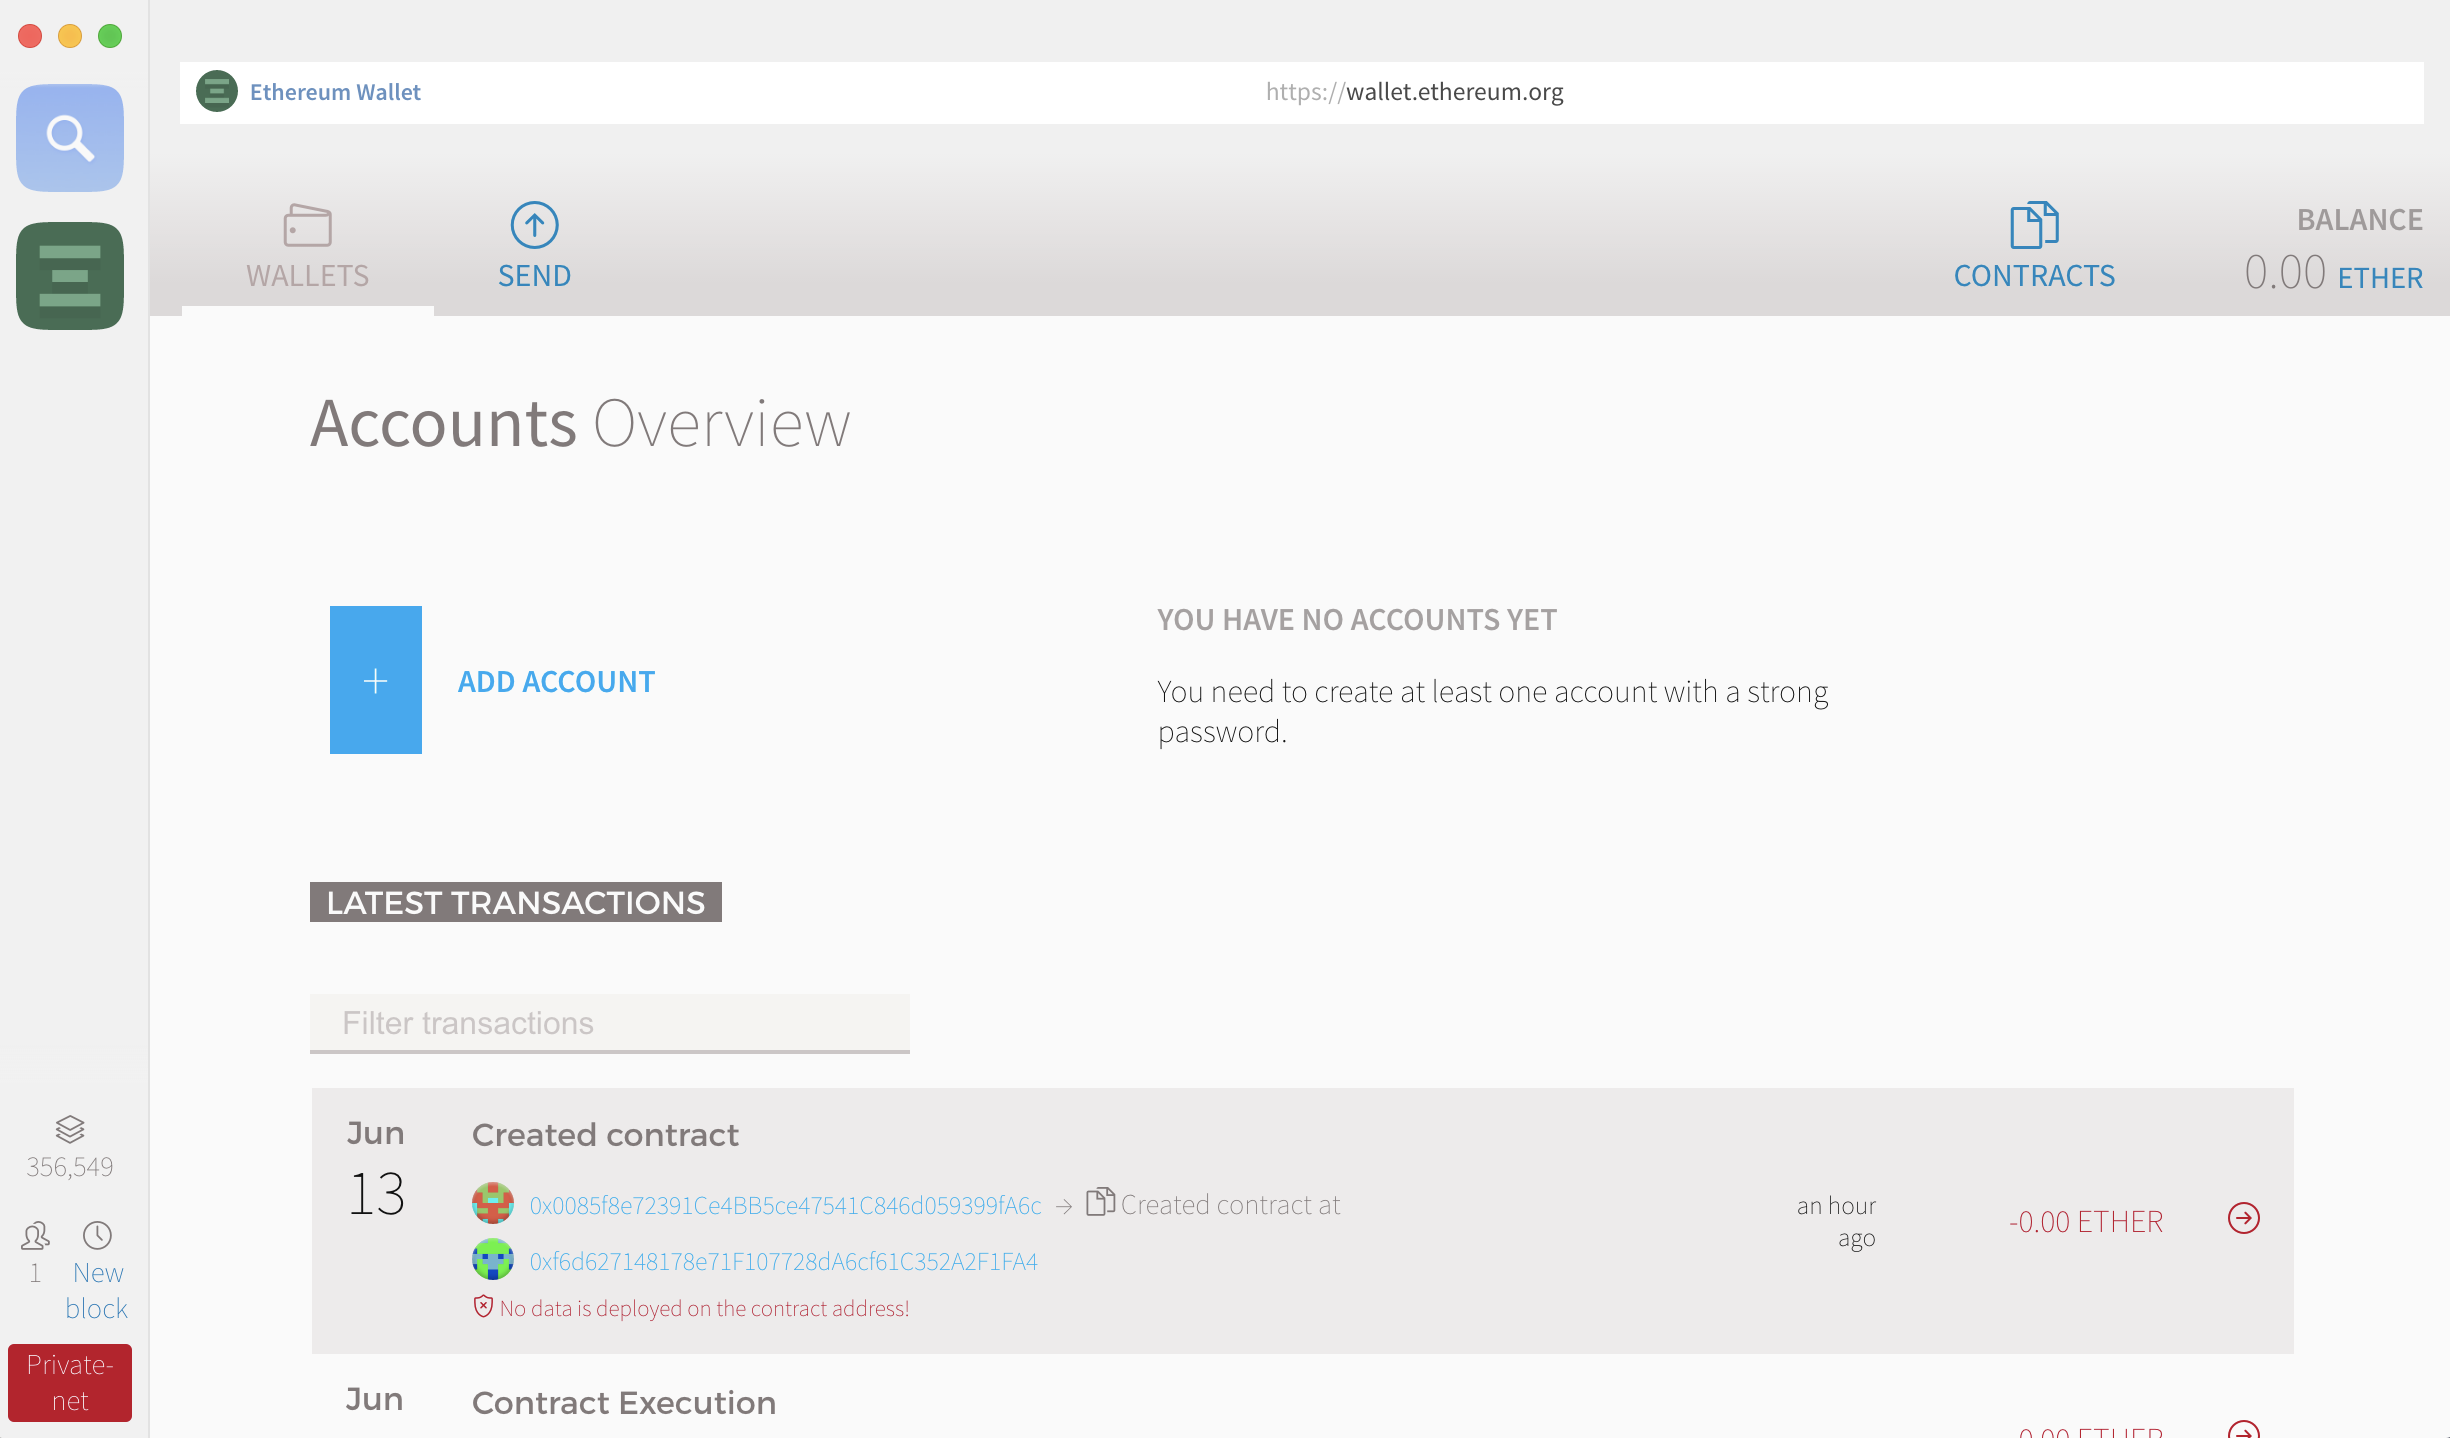
We can then create our first account in Rinkeby by clicking the “Add account” button.
There are two types of “accounts” in Ethereum:
- Externally Owned Account (EOA) or just “accounts”
- Contracts accounts or “contracts”
What we created was an EOA, and is normally what people would refer to as a wallet.
Now that we have an account, let’s send ether to it. Since we are using a testnet, we can get ether doing one of the following:
- Mining: we are running a testnet and it has all the same functionalities as the main network. Mining here is faster but the ether does not have any value.
- Asking someone to send us ETH.
- Using a public faucet.
Luckily for us, there is a public faucet where we can get “free” ether from. We need to do the following steps:
- Copy our account address.
- Paste it in a GitHub gist.
- Submit the gist to https://faucet.rinkeby.io and get free ether.
The following video demonstrates the 3 steps above:
In the video, the user already maxed out the allowance for 3 days, but under normal circumstances we should see a success message.
We should see the requested ether in the wallet balance.
Hello world
With Rinkeby configured and ether to spend, let’s deploy our hello world contract.
The contract is going to be called HelloWorld.
It has 4 state variables:
- creator: the account who created the contract
- lastCaller: the last account who changed the state of the contract.
- message: an internal message.
- totalGas: total amount of gas spent interacting with the contract.
And four getters for each of the state variables:
- getMessage
- getLastCaller
- getCreator
- getTotalGas
We call the functions above by making calls to the contract. Calls don’t have any cost since they don’t change the state of the network.
To change the internal state of the contract, we’ll define a setter. Anything that changes the contract state is considered a transaction.
In Ethereum, transaction have some of the following characteristics:
- Change the state of the blockchain.
- Are run by multiple nodes and are verified.
- Have an associated cost (pay gas).
pragma solidity ^0.4.4;

contract HelloWorld {
  //Begin: state variables
  address private creator;
  address private lastCaller;
  string private message;
  uint private totalGas;
  //End: state variables

  //Begin: constructor
  function HelloWorld() {
    /*
      We can use the special variable `tx` which gives us information
      about the current transaction.

      `tx.origin` returns the sender of the transaction.
      `tx.gasprice` returns how much we pay for the transaction
    */
    creator = tx.origin;
    totalGas = tx.gasprice;
    message = 'hello world';
  }
  //End: constructor

  //Begin: getters
  function getMessage() constant returns(string) {
    return message;
  }

  function getLastCaller() constant returns(address) {
    return lastCaller;
  }

  function getCreator() constant returns(address) {
    return creator;
  }

  function getTotalGas() constant returns(uint) {
    return totalGas;
  }
  //End: getters

  //Being: setters
  function setMessage(string newMessage) {
    message = newMessage;
    lastCaller = tx.origin;
    totalGas += tx.gasprice;
  }
  //End: setters
}
To deploy the contract, let’s add a copy into the clipboard and then do the following steps:
- Click “Contracts” in the button next to the balance.
- Click “Deploy new contract”.
- Select your account and then paste the code into the text editor.
- Select how much gas to pay (creating a contract is a transaction and we have to pay gas).
- Click deploy.
Interacting with the contract
Once the contract has been deployed, we can interact with it.
Let’s click in “Contracts” and then select our recently deployed contract.
We’ll see a screen similar to the following which shows the result for each getter:
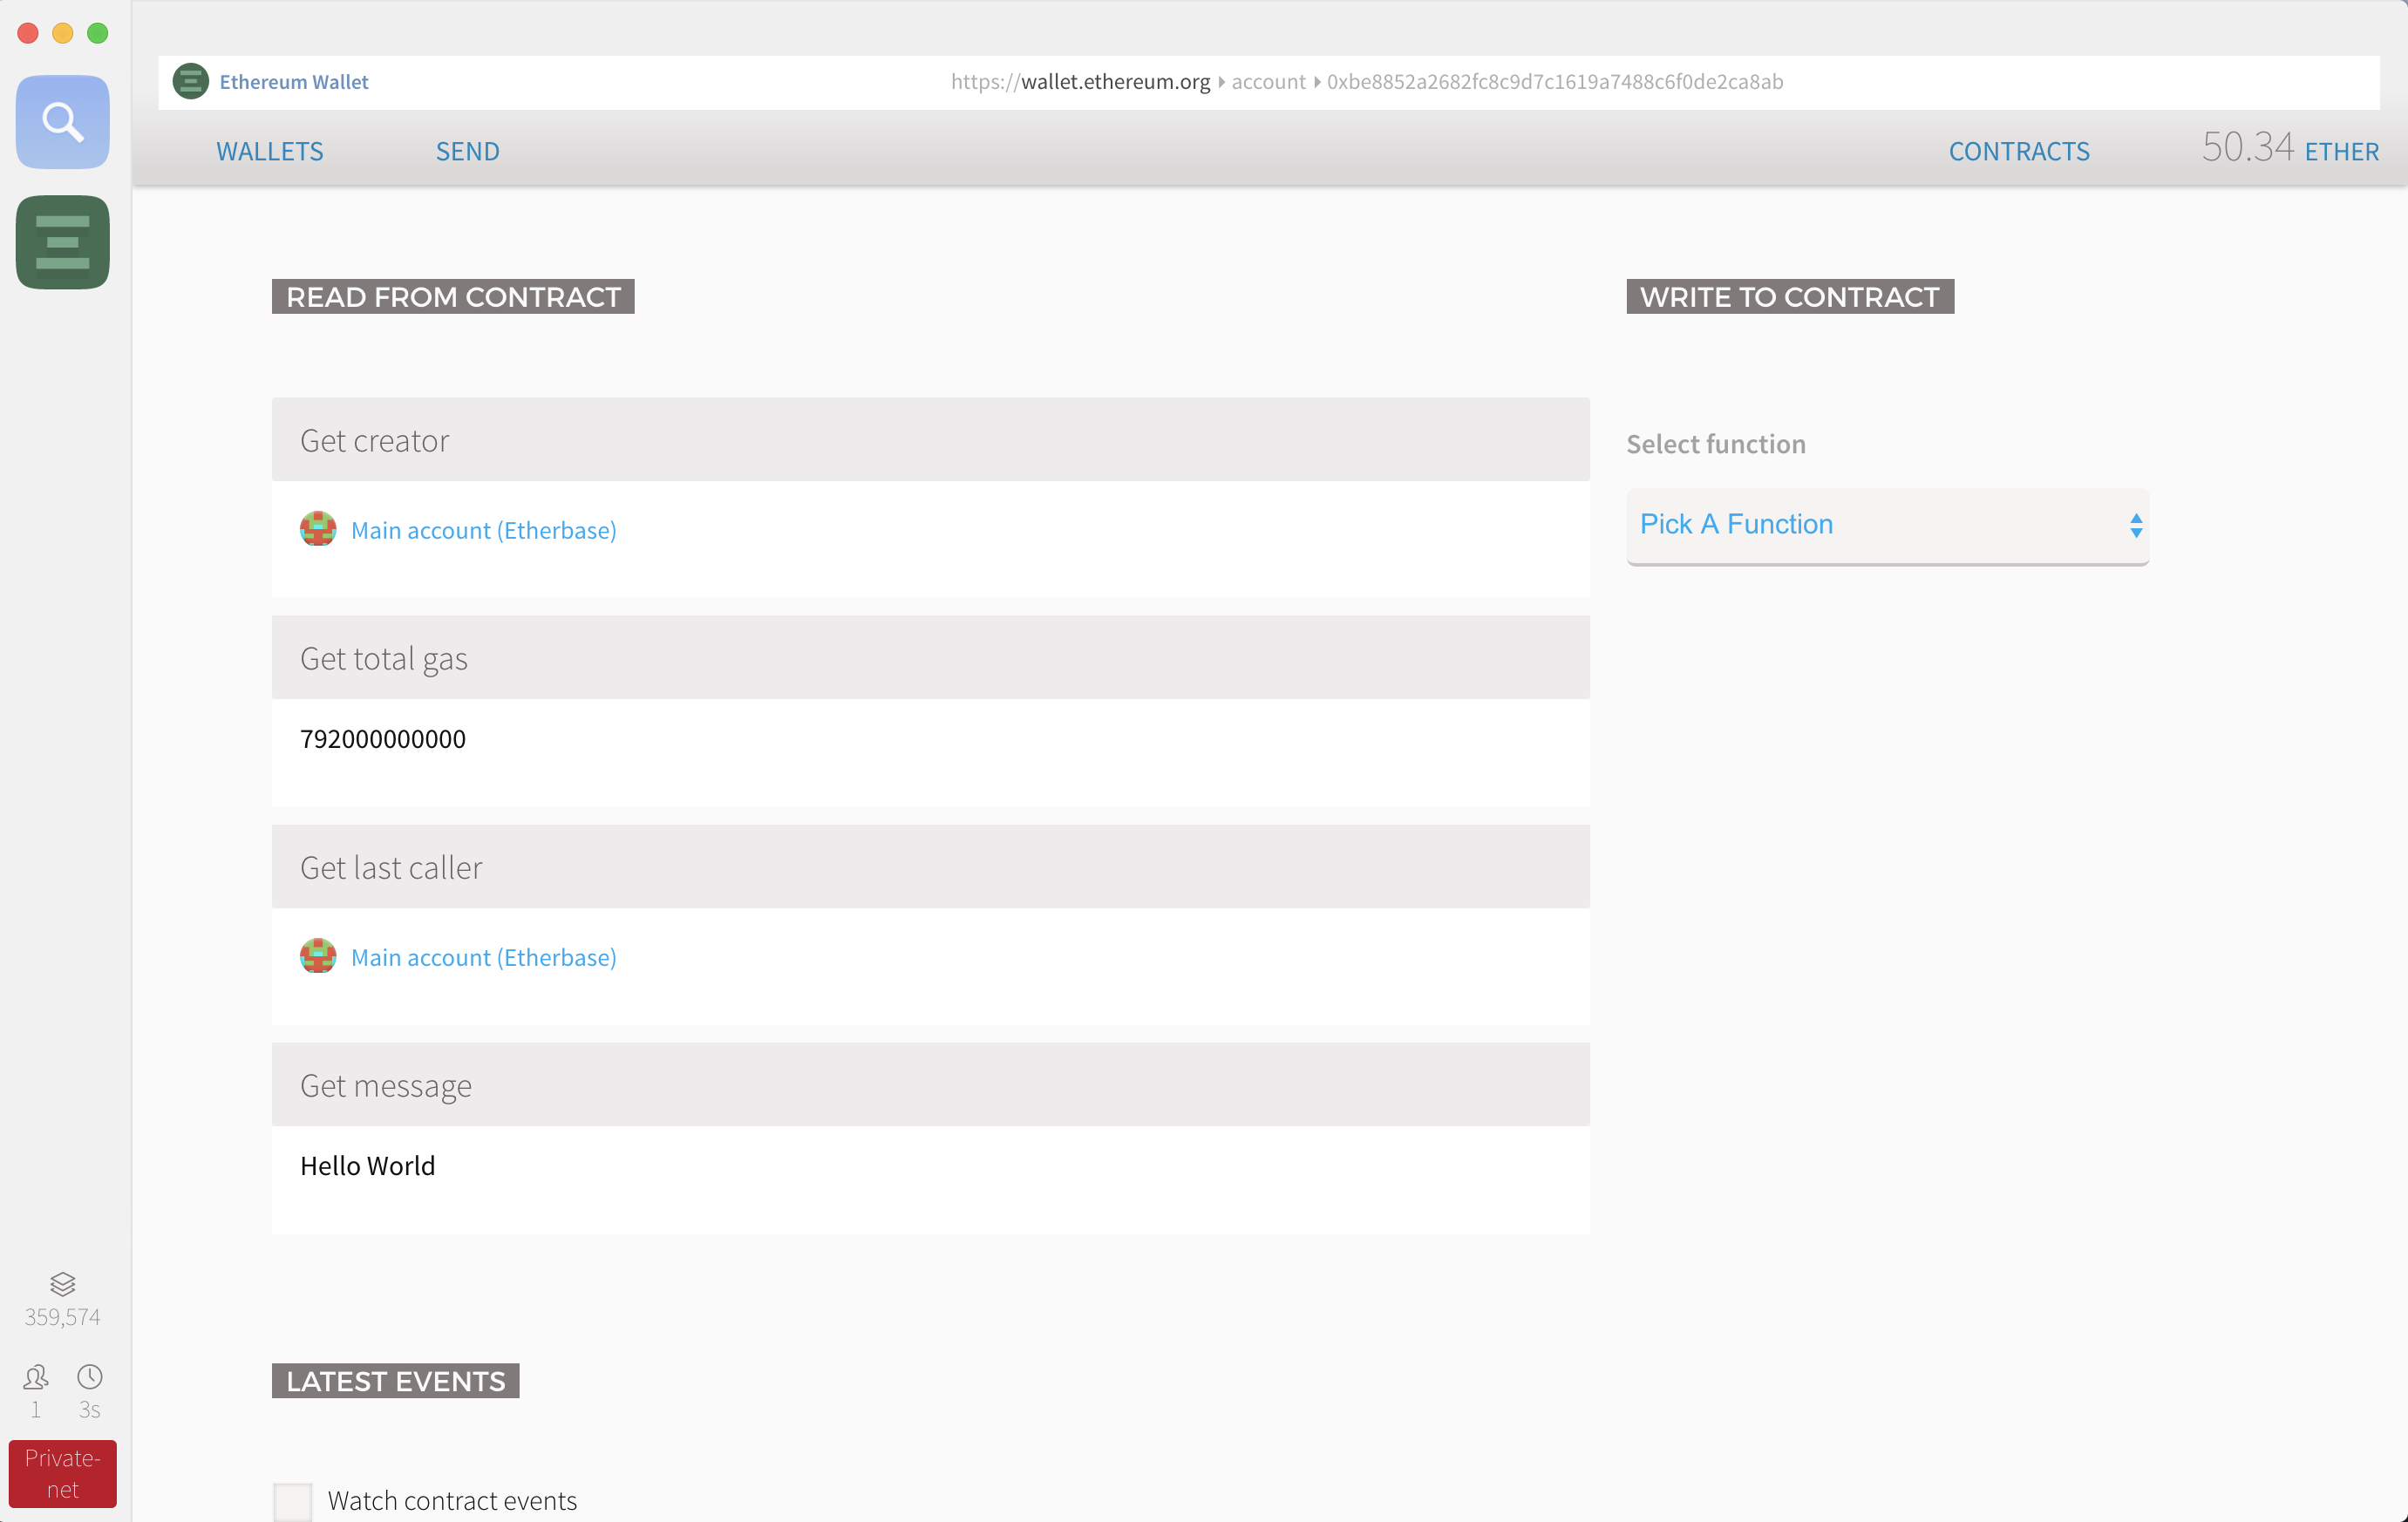
Next, let’s try changing the message. On the right, we’ll see a
section called “Write to contract”, where we can pick the function to
call. If we select setMessage it will ask us for the message.
![]()
We can see all the activity for a contract by copying its address and then going to Rinkeby.
The following are the transactions for my hello world contract: https://rinkeby.etherscan.io/address/0xbE8852a2682Fc8C9d7c1619a7488c6F0dE2Ca8ab
Wrapping up
Congrats! You have deployed your first hello world contract. Now you have the bare minium to start getting into more serious stuff.
If you are interested in Ethereum and writing smart contracts, subscribe to my feed or follow me on twitter.
I’ll be writing more about Ethereum, working with contracts and how to use Truffle to stay sane while doing so.